Lighttpd 安装SSL证书 Lighttpd配置https证书教程
Lighttpd 安装SSL证书
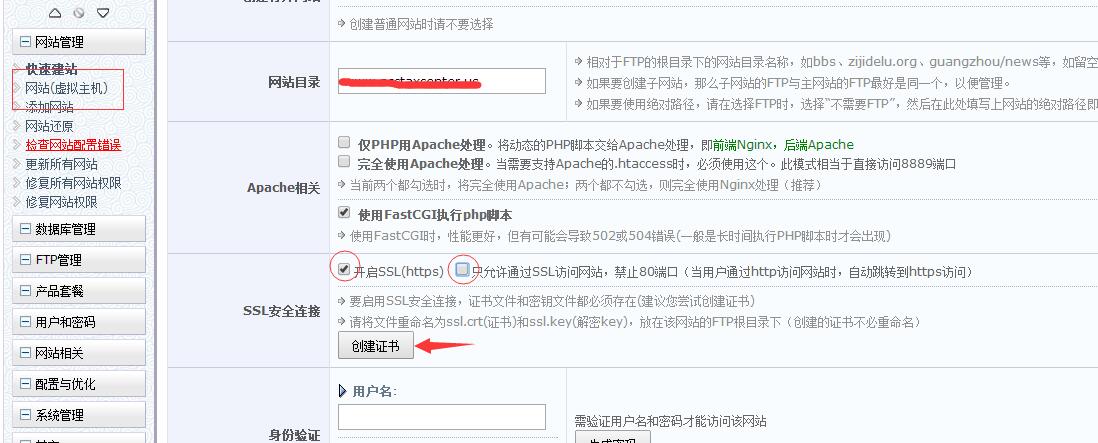
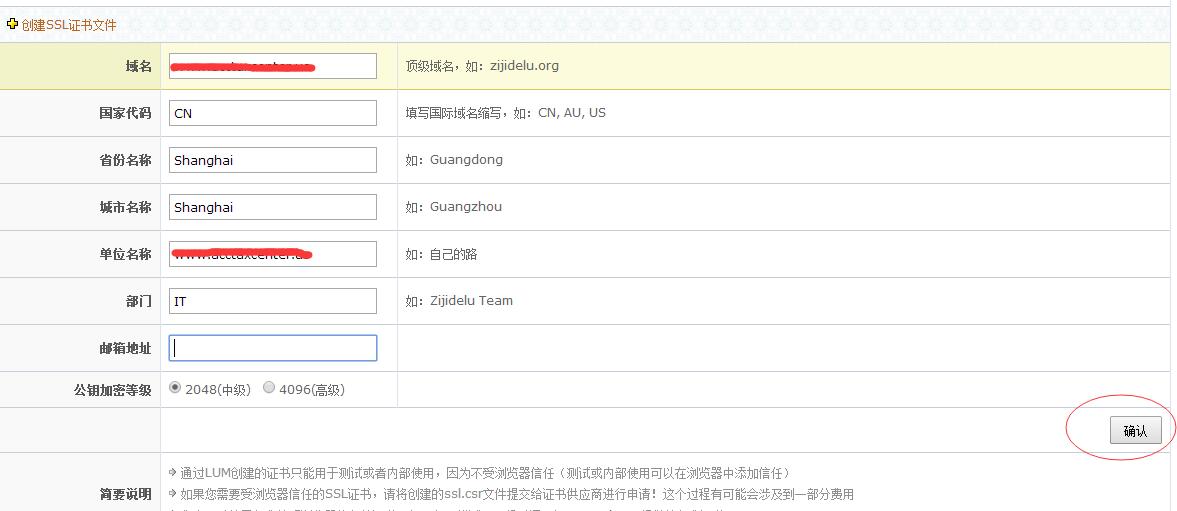
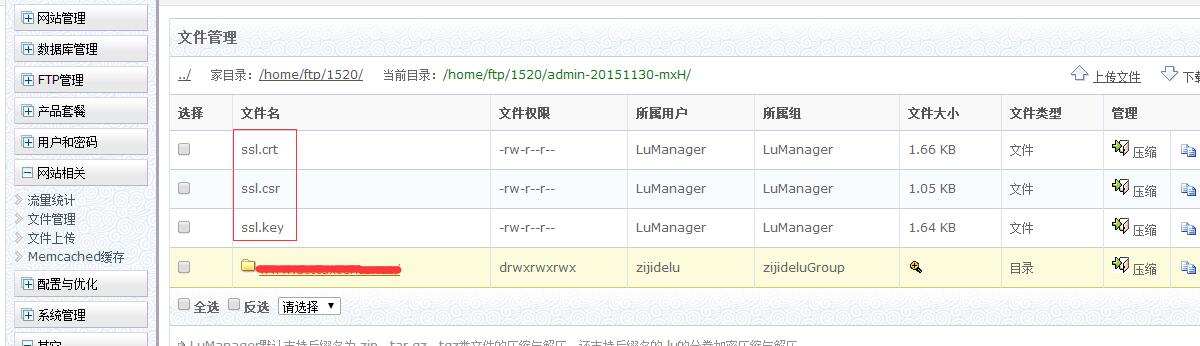
1.下载SSL证书并上传到服务器
yourdomain.com.crt (服务器证书)
yourdomain.com.key (私钥文件)
如果为空请将生成CSR时保存的私钥内容粘贴在文件中ca-bundle.crt (根证书链)
合并证书
#Linux系统cat yourdomain.com.key yourdomain.com.crt  > www.yourdomain.com.pem
#Windows系统用notepad++把yourdomain.com.key和 yourdomain.com.crt 文件的内容合并另存为 www.yourdomain.com.pem
3.编辑Lighttpd配置文件
var.confdir = "/etc/lighttpd"
$SERVER["socket"] == "10.10.10.10:443" {
ssl.engine = "enable"
ssl.pemfile = var.confdir + "/www.yourdomain.com.pem"
ssl.ca-file = var.confdir + "/ca-bundle.crt"
ssl.use-sslv2 = "disable"
ssl.use-sslv3 = "disable"
ssl.honor-cipher-order = "enable"
ssl.cipher-list = "EECDH+AESGCM:EDH+AESGCM:AES256+EECDH:AES256+EDH"
ssl.use-compression = "disable"
server.name = "www.yourdomain.com"
server.document-root = "/home/wwwroot/"
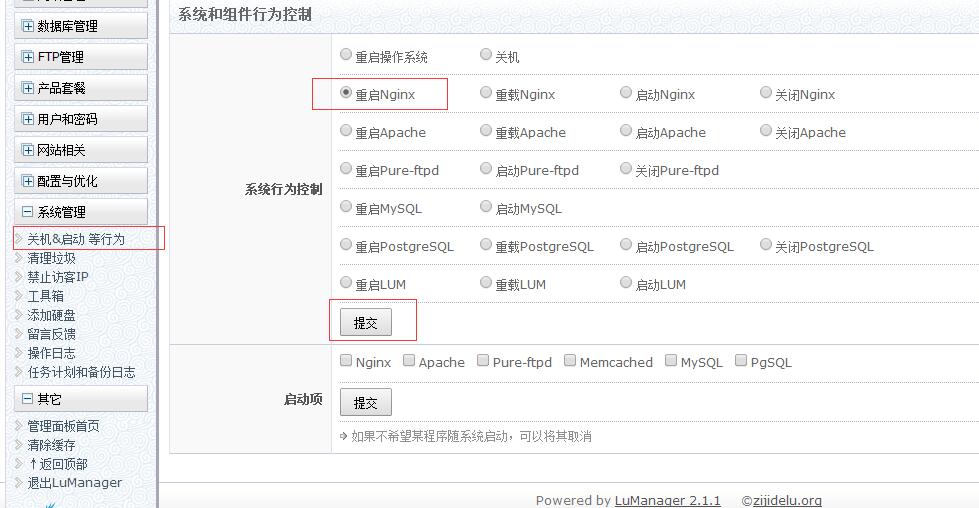
}4. 重启 Lighttpd
/etc/init.d/lighttpd restart