Plesk 12 安装SSL教程 Plesk 12配置https证书教程
Plesk 12 安装SSL教程
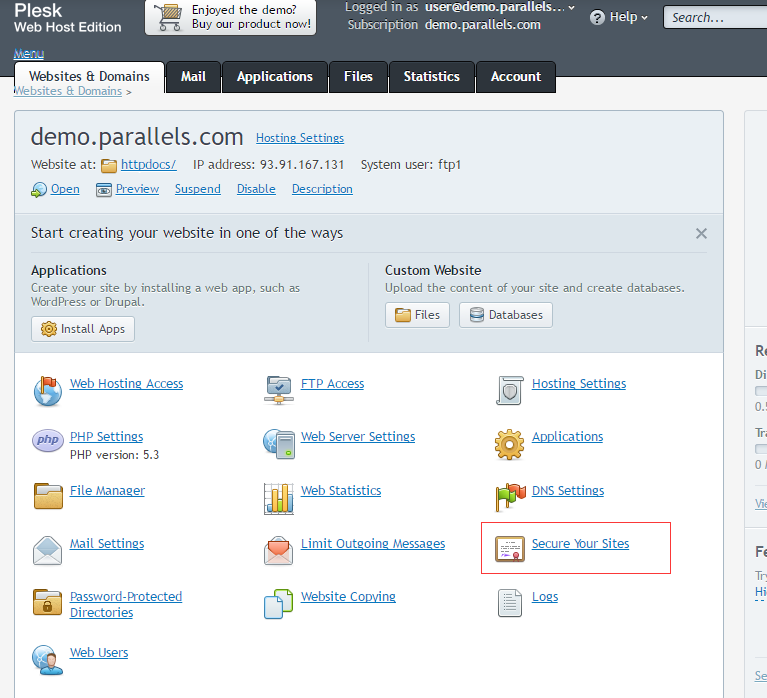
1.登录Plesk ,选择要安装的站点


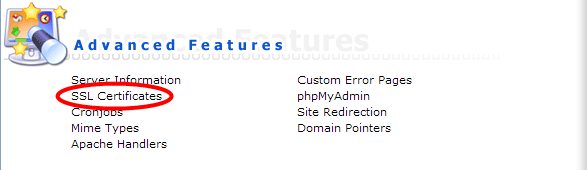
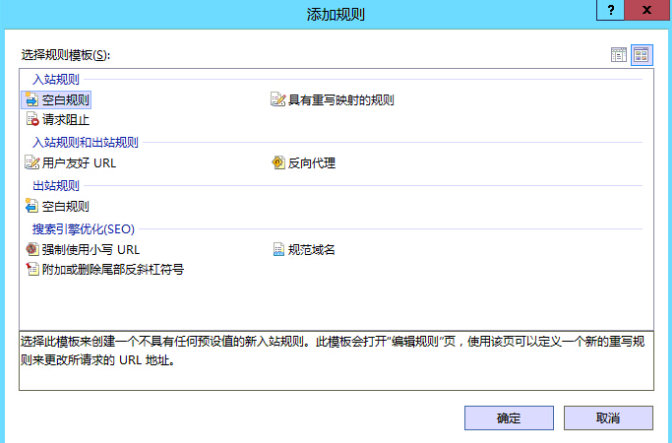
2. 选择 《Secure Your Sites》,打开后选择《Add SSL Certificate》.


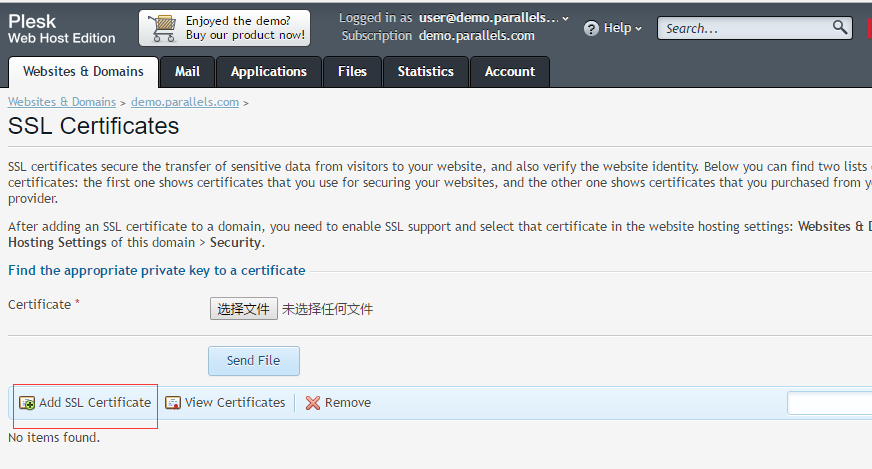
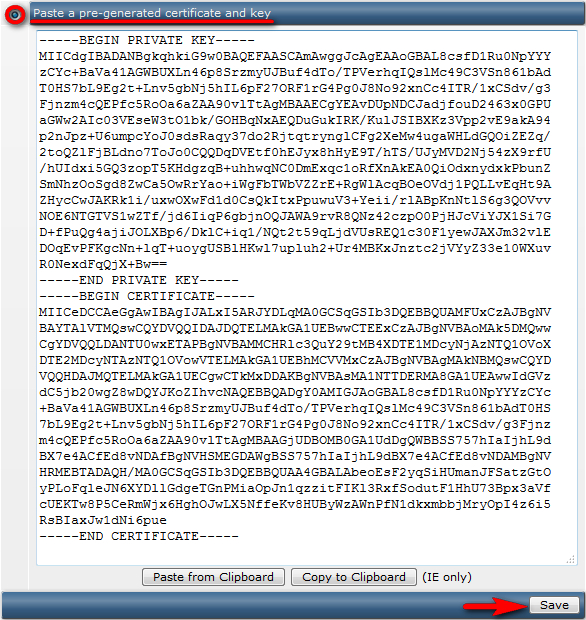
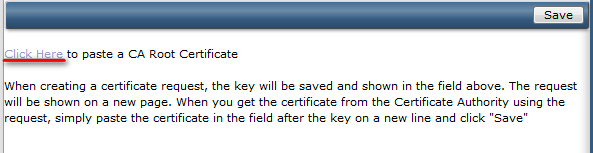
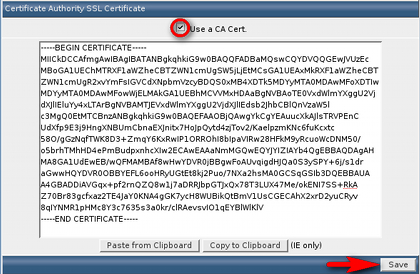
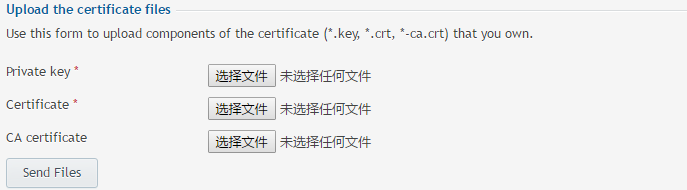
3. 打开《Add SSL Certificate》 页面Certificate name *:证书名称 可以自己定义。3.1上传证书有2种方式3.1.1 上传证书文件下载apache格式证书yourdomain.com.key 对应 Private Keyyourdomain.com.crt 对应 Certificateca-bundle.crt 对应 CA Certificate

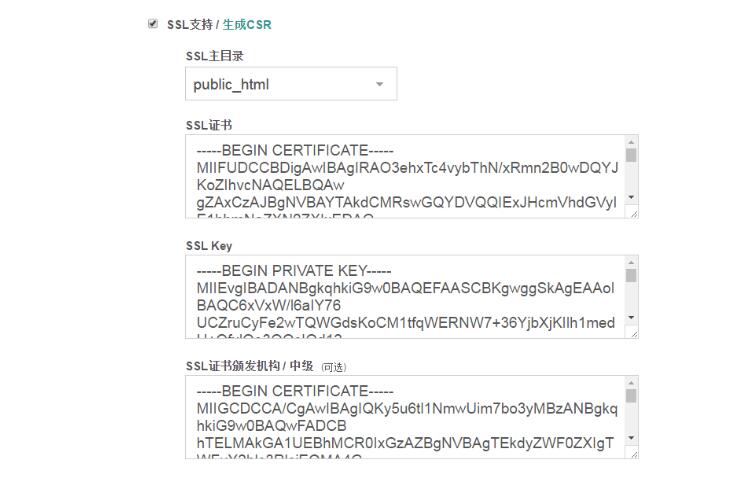
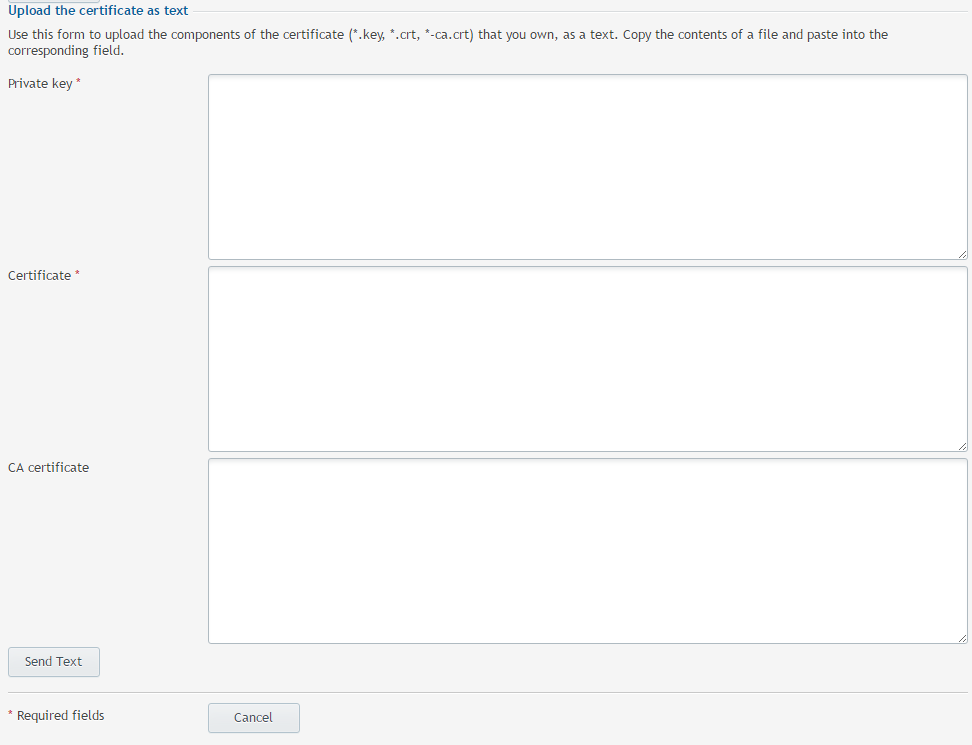
3.1.2复制证书内容登录my.getssl.cn , 订单详细,下载证书页面。 复制server.crt server.key ca-bundle.crt 到对应的输入框。点击《Send Text》

4. 最后一步 绑定证书到站点Websites & Domains > Hosting Settings返回到上一级,选择《Hosting Settings》, 《SSL support 》勾选,Certificate 选择刚刚上传的证书。上传后点击保存即可,然后使用https://www.yourdomain.com 访问测试