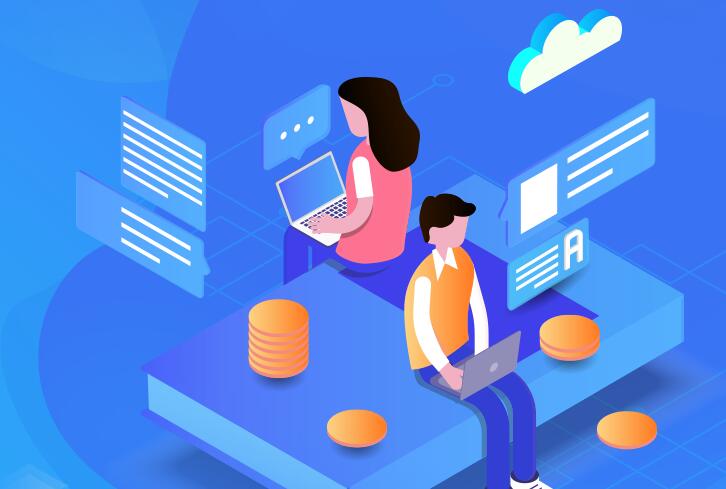
在过去几年中,移动应用程序开发已成为互联网行业中最受关注的领域之一。随着智能手机的普及和移动互联网的高速发展,越来越多的企业和开发者开始关注并投身于移动应用的开发中。然而,随着市场竞争的加剧和用户需求的变化,许多开发者意识到仅仅开发一个移动应用程序可能不再
2023-07-14

中文化、本土化、云端化的在线跨平台软件开发工具,支持APP、电脑端、小程序、IOS免签等等
Day 1: Introduction to App Development
Today, I began my journey into the world of app development. As a beginner, I wanted to understand the basic principles and concepts behind creating an app. I started by researching the different platforms available for app development, such as Android and iOS.
I learned that Android apps are developed using Java or Kotlin, while iOS apps are developed using Swift or Objective-C. Since I'm more familiar with Java, I decided to start with Android app development.
Day 2: Setting Up the Development Environment
To get started with Android app development, I needed to set up my development environment. I downloaded and installed Android Studio, the official integrated development environment (IDE) for Android app development.
Android Studio comes with all the necessary tools and libraries to build Android apps. After installation, I created a new project and familiarized myself with the different components of the IDE, such as the layout editor and the code editor.
Day 3: Understanding Activities and Layouts
In Android app development, an activity represents a single screen with a user interface. I learned that activities are the building blocks of an app and are responsible for managing the user interface and handling user interactions.
I also learned about layouts, which define the structure and appearance of the user interface. Android provides different layout types, such as LinearLayout and RelativeLayout, which allow developers to create flexible and responsive user interfaces.
Day 4: Handling User Interactions
Today, I focused on handling user interactions in my app. I learned about event listeners, which are used to detect and respond to user actions, such as button clicks or text input.
I implemented a simple button click event listener in my app and learned how to display a toast message when the button is clicked. I also explored other types of user interactions, such as handling touch events and capturing user input from text fields.
Day 5: Working with Data
In app development, it's important to be able to store and retrieve data. Today, I learned about the different storage options available in Android, such as shared preferences, SQLite databases, and cloud storage.
I implemented a simple data storage feature in my app using shared preferences. Shared preferences allow me to store key-value pairs persistently, so that the data can be accessed even after the app is closed.
Day 6: Building User Interfaces
Today, I delved deeper into building user interfaces in Android. I learned about different UI components, such as buttons, text views, and image views, and how to customize their appearance using XML attributes.
I also explored the concept of fragments, which are reusable UI components that can be combined to create more complex user interfaces. Fragments are commonly used to build apps that can adapt to different screen sizes and orientations.
Day 7: Testing and Debugging
Testing and debugging are crucial steps in app development to ensure that the app functions correctly and is free of bugs. Today, I learned about different testing techniques, such as unit testing and UI testing.
I also learned how to use the Android Debug Bridge (ADB) to debug my app and identify and fix any issues. Debugging tools, such as breakpoints and log statements, proved to be invaluable in troubleshooting and understanding the flow of my app.
Day 8: Publishing the App
After weeks of hard work, it was time to publish my app to the Google Play Store. Today, I learned about the different steps involved in the app publishing process, such as signing the app, creating a listing, and setting up pricing and distribution options.
I followed the guidelines provided by Google and prepared all the necessary assets, such as screenshots and app descriptions. Finally, I submitted my app for review and eagerly awaited its release to the world.
In conclusion, my journey into app development has been an exciting and rewarding experience. I have learned the basic principles and concepts behind creating an app, as well as the necessary tools and techniques to develop and publish an app. I'm excited to continue exploring and expanding my knowledge in this field.